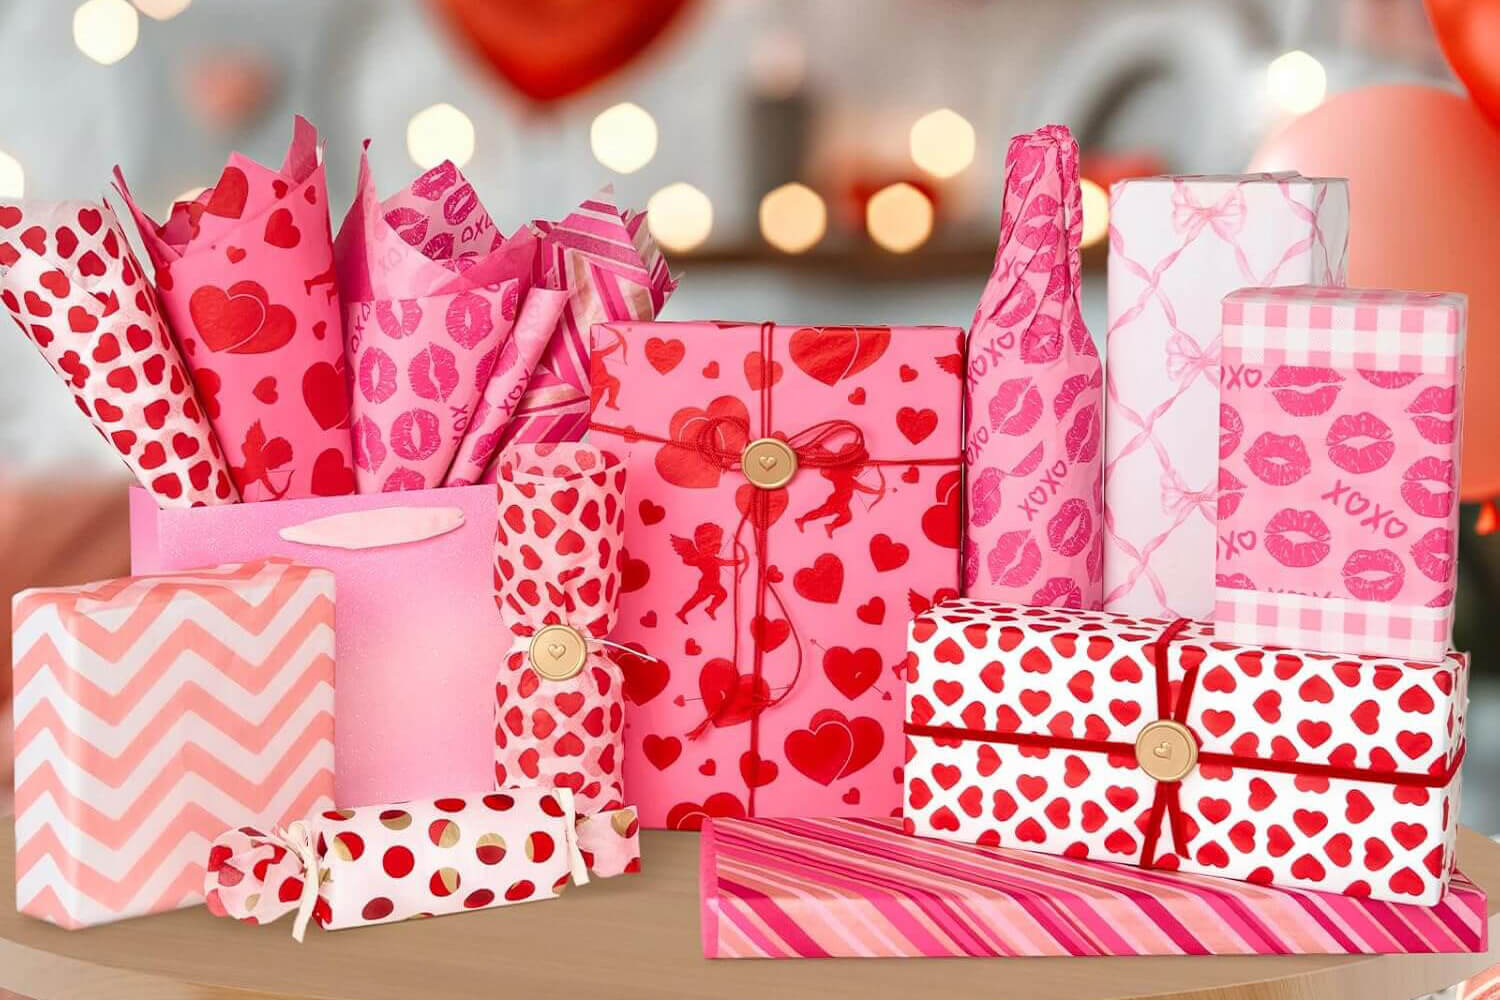
How to Wrap Your Gift with Wrapping Paper
- 4 min reading time
Gift-giving is a timeless tradition that brings joy to both the giver and the receiver. One of the most delightful aspects of this tradition is the presentation of the gift itself. A beautifully wrapped gift can heighten the anticipation and excitement of the recipient. However, wrapping a gift can sometimes be a daunting task, especially if you’re not sure where to start. Fear not! This comprehensive guide will walk you through the process of wrapping your gift with wrapping paper, ensuring that your present looks as good on the outside as it is on the inside.
Materials You’ll Need
Before you begin, gather the following materials:
- Wrapping paper
- Scissors
- Tape (preferably double-sided)
- Ribbon or bow
- Gift tag (optional)
- A flat surface to work on
Step 1: Measure and Cut the Wrapping Paper
The first step in wrapping your gift is to measure and cut the wrapping paper. Place the gift box on the wrapping paper, ensuring that there is enough paper to cover all sides of the box. Here’s a simple way to measure:
- Place the Box: Position the box in the center of the wrapping paper.
- Wrap Around: Pull the paper up and over the box to ensure it covers the entire box. The paper should overlap slightly.
- Cut the Paper: Once you’ve measured the paper, use scissors to cut it. Make sure to cut straight lines for a neat finish.
Step 2: Secure the Paper Around the Box
Now that you have your wrapping paper cut to size, it’s time to secure it around the box.
- Position the Box: Place the box face down in the center of the wrapping paper.
- Fold and Tape: Bring one side of the paper up and over the box, securing it with a piece of tape. Repeat with the other side, ensuring the paper is snug around the box.
- Tidy the Edges: Fold the edges of the paper to create clean lines. This will give your gift a polished look.
Step 3: Fold the Ends
Folding the ends of the wrapping paper can be tricky, but with a little practice, you’ll master it in no time.
- Fold the Top Flap: Start with one end of the box. Fold the top flap down, creasing the paper along the edge of the box.
- Create Triangles: Fold the sides in to create two triangles. The paper should now resemble an envelope.
- Fold Up: Fold the bottom flap up and secure it with tape. Repeat on the other end of the box.
Step 4: Add the Finishing Touches
With the gift now wrapped, it’s time to add some finishing touches to make it extra special.
- Add Ribbon: Cut a piece of ribbon long enough to wrap around the box. Place the box face down on the ribbon, bringing the ends up and over the box. Cross the ribbon at the top, then bring it back down and tie a bow.
- Attach a Bow: If you prefer, you can use a pre-made bow. Simply peel off the backing and stick it to the top of the box.
- Add a Gift Tag: Write a personal message on a gift tag and attach it to the ribbon or bow.
Tips for Wrapping Irregularly Shaped Gifts
Not all gifts come in neat, rectangular boxes. Here are some tips for wrapping irregularly shaped gifts:
- Use a Box: If possible, place the gift in a box before wrapping. This will make the wrapping process much easier.
- Wrap in Tissue Paper: For delicate or oddly shaped items, consider wrapping them in tissue paper first. This will provide a protective layer and make the gift easier to handle.
- Create a Gift Bag: If wrapping is proving too difficult, consider making a gift bag out of wrapping paper. Simply fold the paper into a bag shape, secure the edges with tape, and place the gift inside.
Eco-Friendly Wrapping Ideas
If you’re looking to reduce your environmental impact, consider these eco-friendly wrapping ideas:
- Reusable Fabric: Use a piece of fabric, such as a scarf or tea towel, to wrap your gift. This not only looks beautiful but can also be reused by the recipient.
- Recycled Paper: Use recycled or recyclable wrapping paper. Avoid paper with metallic or plastic coatings, as these cannot be recycled.
- Natural Decorations: Instead of plastic bows, use natural decorations like twine, dried flowers, or pinecones to adorn your gift.
Conclusion
Wrapping a gift is an art that, with a little practice, anyone can master. By following these steps, you’ll be able to present your gifts in a way that is both beautiful and thoughtful. Remember, the effort you put into wrapping your gift is a reflection of the care and consideration you have for the recipient. So take your time, enjoy the process, and have fun creating beautifully wrapped gifts that will delight your loved ones.


